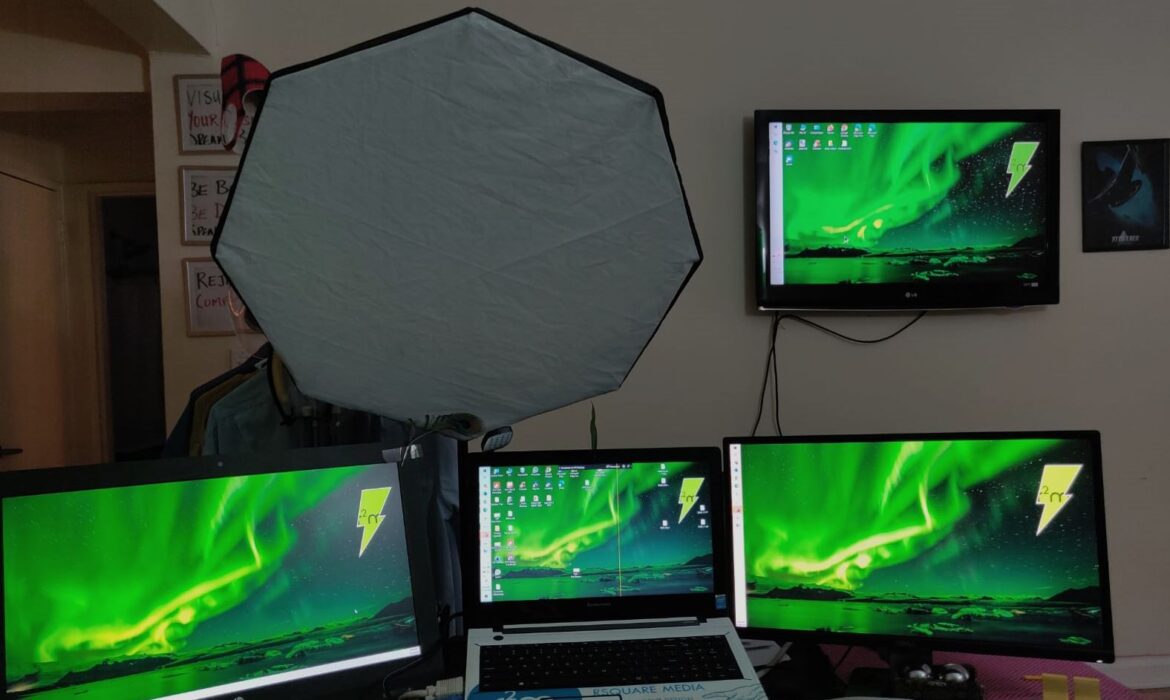
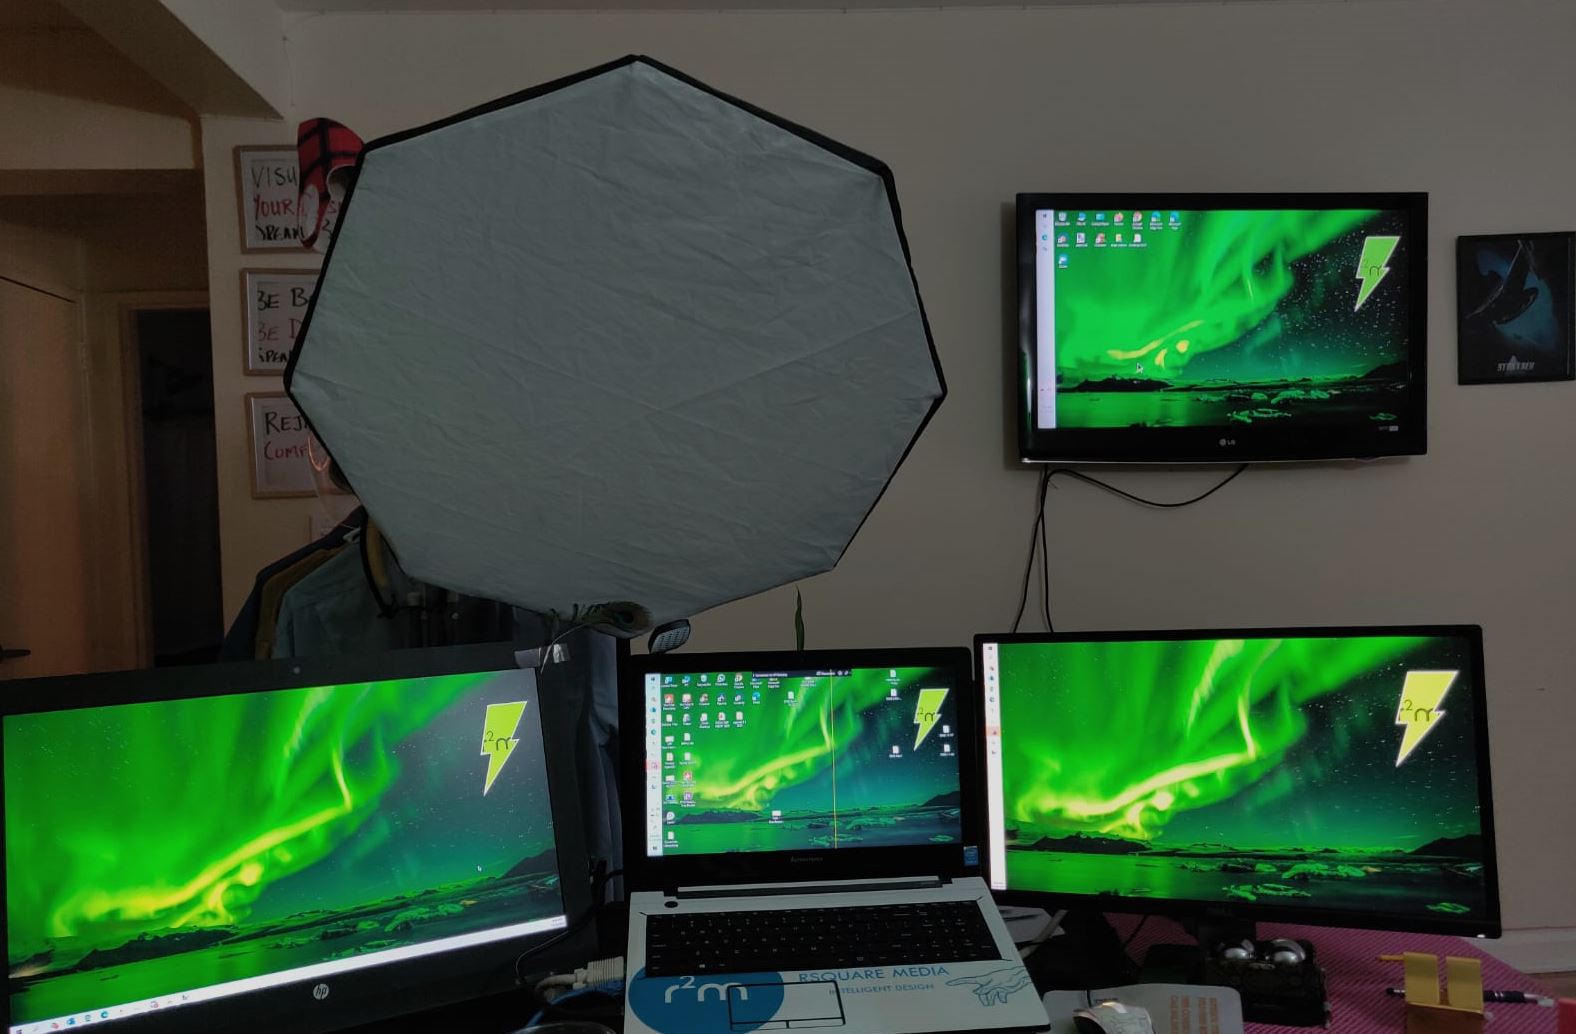
Productivity Hacks: How To Convert an Old Laptop or Desktop as an External Monitor

If you’ve been using computers for a while, then you may realize that as you upgrade to the next big thing or the next technological innovation at the time, you might be left with some old hardware.
You may choose to sell it, donate it, or give it away to someone who could put it to good use. These are all great and worthy strategies to employ, but, there is another strategy that you may not have considered. This is to repurpose your old hardware to support your new hardware in a creative way which actually makes life a Lot Easier for you, by way of boosting your productivity by repurposing your old hardware to serve as an external monitor. Furthermore, this would help in saving you some much-needed money when it comes to buying an external monitor.
This process allows you to connect to any device wirelessly provided both machines are connected to the same internet network. This also eliminates the need to buy expensive HDMI cables. The technology world is rapidly moving towards embracing a wireless future, which is very much in keeping with this approach.
This approach uses Windows Projection technology that’s included with Windows 10.
While there is no risk of damage to your hardware, we are not responsible for any damage to your hardware when you employ this technique and by attempting to do this, you agree to do so at your own risk.
With that legalese out of the way, here are the steps:
- On the device, you want to connect to (your old laptop or desktop) go into setting and type in ‘projection’ in the search field within settings.
- Or, Press the I key along with the Windows Key (key which has the windows box logo on it) to get to the Settings menu
- In projection setting, select Available everywhere, every time, never respectively in the 3 dropdowns on that page
- Note down the name of the device as listed on that page
- Make sure both machines are connected to the same internet network as well as same frequency i.e. both must be connected to 2.4Ghz or 5 Ghz. If you don’t see these options when you detect your wifi network then it’s possible your wifi has a single frequency similar to what Verizon Fios offers to its residential customers
- Now, go to the machine you want to project from – your new hardware – your new laptop or your new desktop & press Windows key & the P key at the same time and select Extend (if it isn’t already selected)
- Then click on ‘Connect to Wireless Display’ link at the bottom of the menu you see
- Your old device name will now be displayed in the list that shows up
- Click your old device name in the list
- Watch for a notification on your old hardware, click accept
- Congratulations! You have now successfully connected your devices.
- You can use this approach to connect to as many devices as you like
Watch this video if you prefer to See how Simple this is.
Let us know in the comments if this worked for you and consider subscribing to our blog for more productivity hacks published each week.
If you’re looking for a productivity hack as far as your Business Networking goes, then consider attending Dynamite Networking Group where we meet Virtually on Tuesdays each week via Zoom at 10AM EST and 12PM PST.